Document signing in any business can be tedious. If you are in an organization, you would know the amount of time, paper, ink, and efforts spent on getting your documents signed.
However, wouldn’t it be great if this document signing process became as easy as a simple click?
Introducing Pdf Auto Signer Pro, the world’s best digital signing software for all your signing needs. A software that digitally signs PDF within a few simple clicks.
Read: 10 Reasons to get Digital signature software right now!
In fact, PDF Auto Signer Pro allows you to bulk sign thousands of pdfs in 2 Simple steps. Yes, just two.
That’s it!
PDF Auto Signer Pro simplifies bulk signing so you can take a break. But to get this experience, you must set up your software.
Below is a step-by-step guide that will help you create a hassle-free bulk signing experience.
Here are the topics covered in this blog. Feel free to jump to the section of your choice.
Table of contents
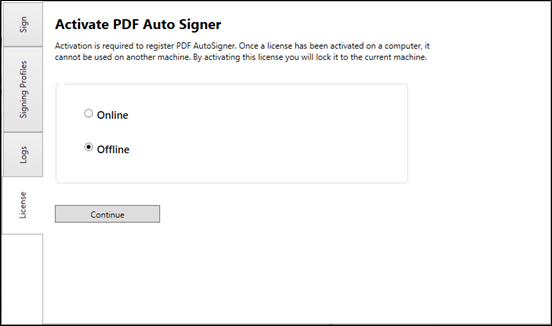
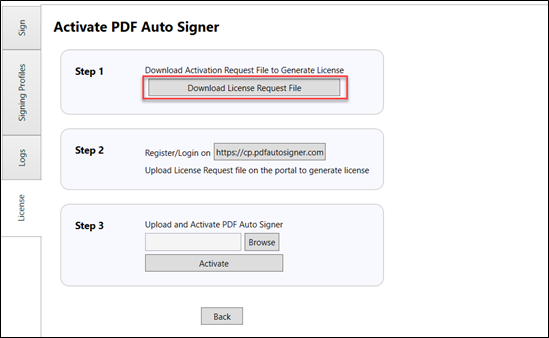
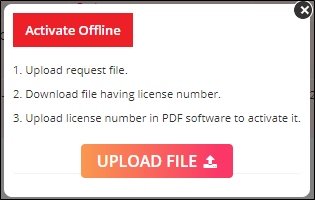
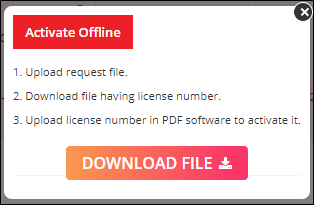
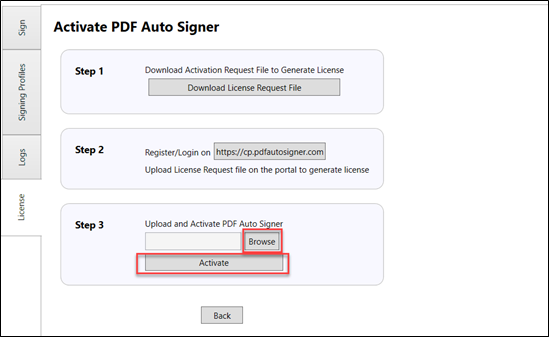
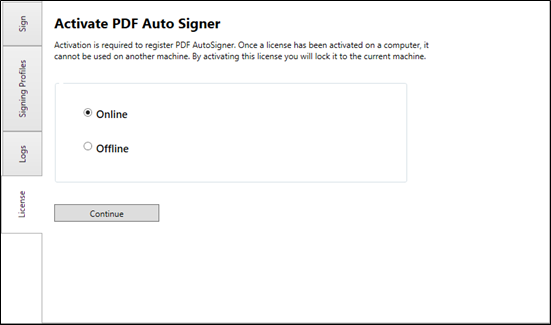
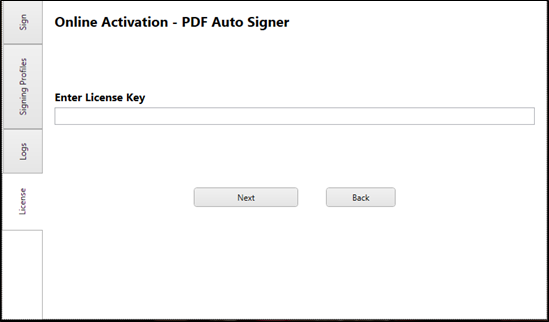
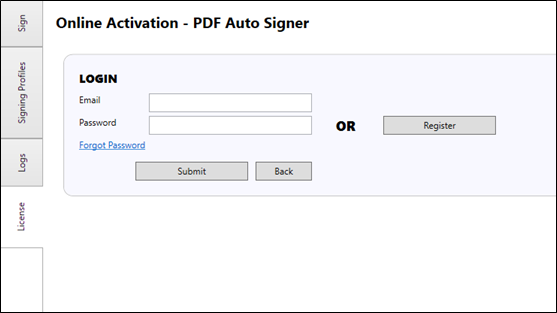
The license for PDF Auto Signer Pro can be activated in both offline & online modes. In this blog, we will guide you through the basic steps to activate your signing license.
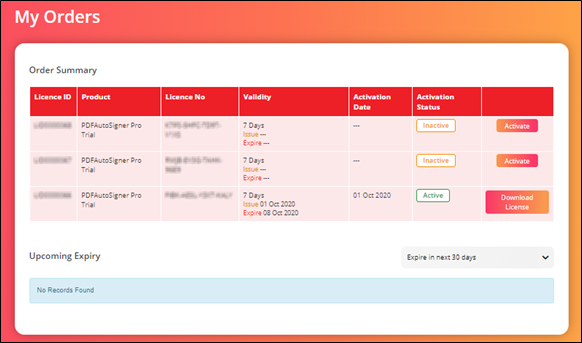
Congratulations, your Free Trial license is now activated for the next 5 days!

Congratulations, you successfully activated your 5-day Free Trial license!
NOTE: Check for ‘Expiry date’ and the trial status (True/False) to verify your digital signature’s successful activation.
Before you get your pdfs bulk signed you must create a signing profile. This is to keep your signature separate from other additional profiles. Moreover, multiple signing profiles allow multiple users to bulk sign at their convenience.
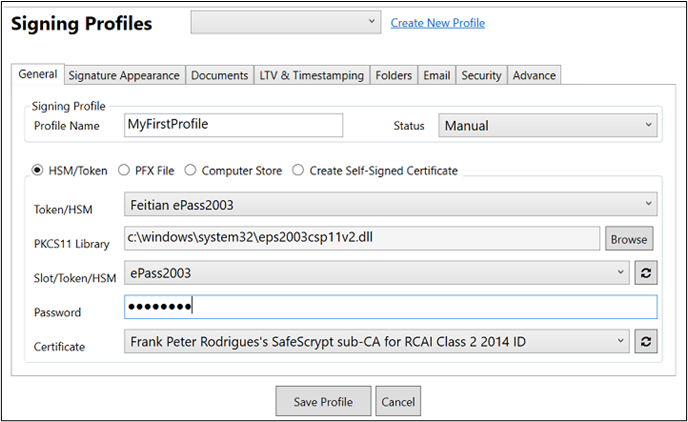
So, go to ‘Signing Profiles’ and then click the ‘General’ Tab
This is what it would look like.
Don’t get alarmed by all the jargon before you. It’s easy to understand. Below are simple term explanations that you must know.
1) Profile Name: It’s your name. That’s it. Since this is a ‘Test’, We’ve set our Profile name as ‘TEST. You can configure it to your liking.
2) Status: The ‘Status’ has 3 mode options in its dropdown box namely ‘Manual’, ‘Background Automated’, ‘Disabled’.
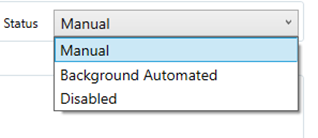
Here’s what all 3 of them mean
Select your preferred mode and let’s get to the next set of terms.
3) Token: This is the name of the token brand or the DSC (Digital Signature Certificate) you will be bulk signing your pdfs with. We’ve set it to ‘ePass2003’, but you can change it as per your preference.
How to change the HSM/Token?
4) PKCS11 Library: It is the ‘dll’ file of the USB token you’re using. This will perform the bulk signing for you.
5) Certificate Label: That’s the registered certificate name of your digital signature.
6) Certificate ID: A long string of characters is just your digital signature certificate’s ID.
You did great! Now you’re all set to move to the next step.
The next step is to configure how your digital signature’s location and placing on your signed pages.
To do this, head onto the ‘Signature Appearance’ tab. You will be presented with another set of options and settings. Here’s what they mean and what to do with them.
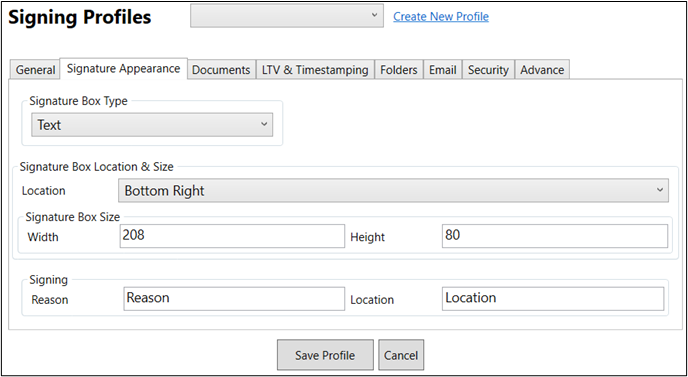
The options before you are…
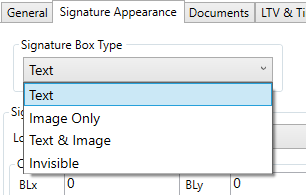
Example:

Example:
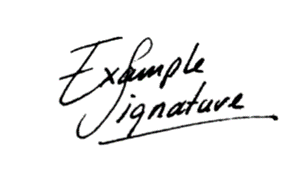
Example:

Example:
2) Configure the positioning of your signature through the ‘Signature Appearance’ tab.
How to set the co-ordinates for signing
You can set the signing location by either selecting the ‘Bottom Right’ OR ‘Bottom Left’ alignment. However, if you wish to sign at another location you will need to set the respective coordinates.

How to set the Absolute Location:

How to set the Absolute Location Co-ordinates
Change the values of both the axes to digitally sign at your desired location. Feel free to contact our experts to help you set up your digital signature’s signing location.
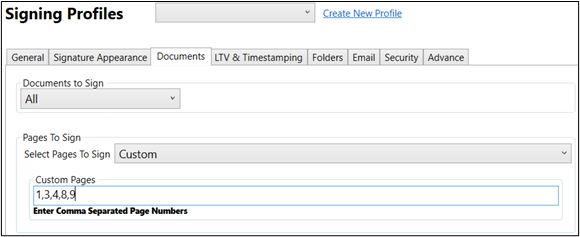
Now, you’ve to decide which documents need to be digitally signed. All of them? only the pdf files or only the even number pages? Pdf Auto Signer Pro makes digital signing faster, smoother, and easier. So, let’s set up your documents to be signed.
How to set up the documents to sign
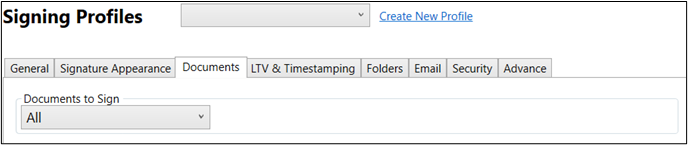
By selecting ‘All’ the software will bulk sign every document in your ‘Input’ folder.
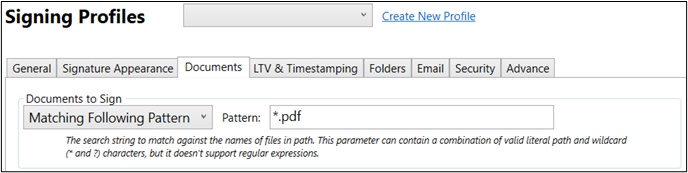
By choosing the ‘Matching Following Pattern’ option you can set the extensions for bulk signing.
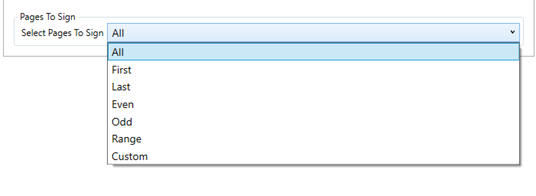
From the dropdown menu in ‘Select Pages to Sign,’ you can choose the exact pages you wish to digitally sign. By selecting ‘Range’ or ‘Custom’ options you can manually choose the pages.
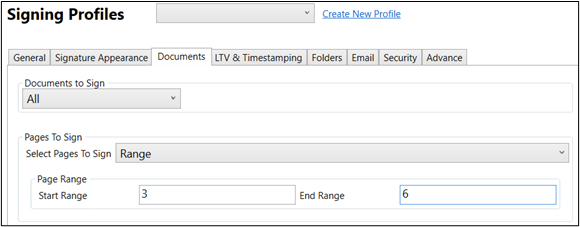
Following is the Range Menu. Select the ‘Start Range’ and ‘End Range’ as per your preference. Example: 1-10, 45-48, 55-56.
The image below shows how you can choose custom pages to digitally sign PDF. Set your page numbers and get your files… bulk signed.
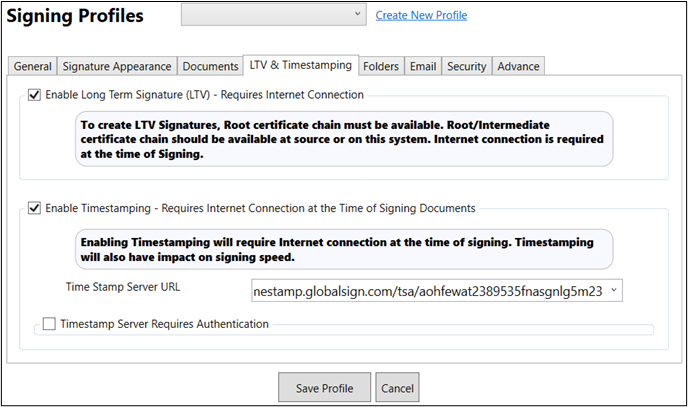
Before you set up this configuration you must understand what LTV is and why this feature is a big-time benefit for you.
What are LTV and Timestamping features?
LTV or Long-Term Validation is the record time and location of digitally signing the document. Your digital signature must be digitally timestamped to validate your certificate. Also, by enabling an external timestamp. The LTV and Timestamping feature help you get accurate and trustworthy time stamps on your documents.
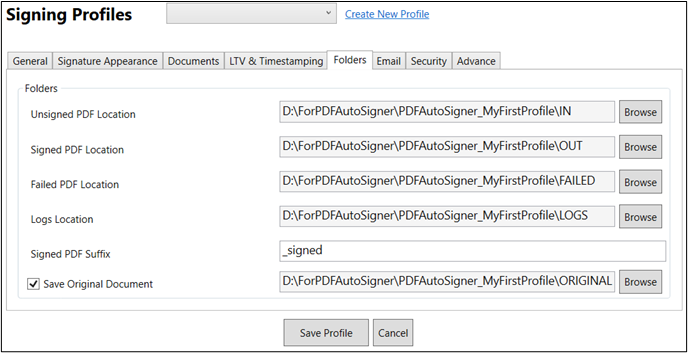
For a hassle-free digital signing process, you must create 4 folders. ‘Input’, ‘Output’, ‘Failed’, ‘Logs’. These folders will systematically arrange your signed and unsigned documents. Moreover, they make background automated signing easier.
To do so, go to ‘Folders’ in the ‘Signing Profiles’ tab and ‘Browse’ the location of your respective folders.
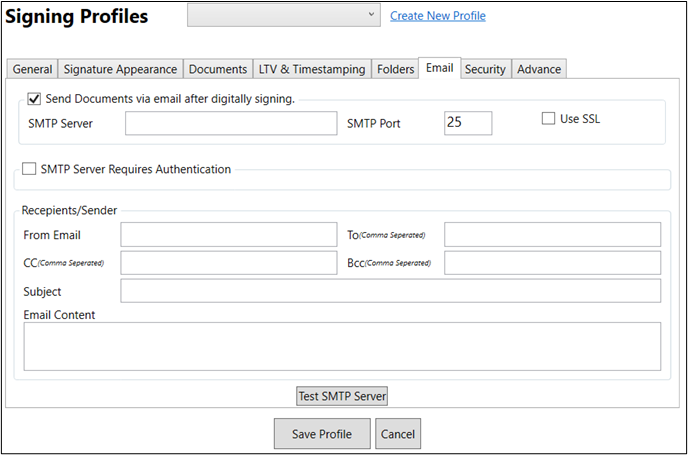
You can email your digitally signed files with ease. Fill in countless recipients and send your signed documents within a few clicks.
Passwords protect your digitally signed documents for utmost security. Password protection is a necessary feature as you can secure your important documents easily.
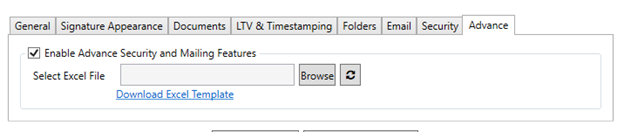
The advanced security features allow you to set a unique password for every document. Apart from this, you can also email those documents to unique individuals.
To do so, you must fill in the details of every document that needs to be configured. Once the excel file is completed with the necessary info, you’re all set to sign, protect, and mail them.
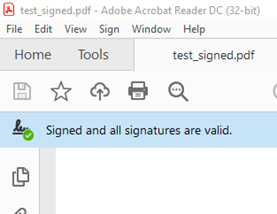
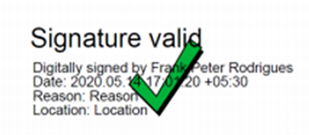
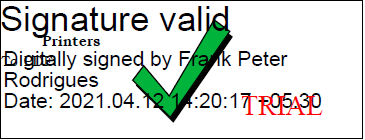
Here is an example of signed documents in the trial and paid version.
The digitally sign PDF Paid Version
The digitally sign PDF Trial Version
You can refer to our handy guide to understand document signing software. It houses an infographic along with the benefit of document signing software.
We extend our 5-star on-demand support. A web chat or Webex session can be scheduled at a mutually convenient time with just one click to contact.
Have a great experience using the world’s best digital signing software!
Taking advantage of the digital signing of PDF documents can help you improve your staff’s productivity by over 30%, according to AIIM’s market survey.